

Making a beat is a blend of technical skill and creative intuition. It's the rhythmic and melodic backbone of a song, setting the mood and providing the foundation for vocals and other instruments. While the process can seem daunting, especially with all the high-tech gear and software available, the core principles are simple and timeless.
In this guide, we'll walk you through a step-by-step process to create your own beats from scratch. We’ll focus on the essential elements and a workflow that keeps you creative and productive. Remember, the journey to becoming a great beat maker is about practice, experimentation, and finding your own unique sound.
Step 1: Define Your Vibe
Before you open your Digital Audio Workstation (DAW), take a moment to define the mood and genre you want to create. This is arguably the most important step. Are you aiming for a chill, lo-fi hip-hop vibe or a high-energy dance track, or perhaps a sad, introspective mood? Your choice of genre will dictate everything from the tempo to the sounds you use.
Choose a Tempo (BPM)
The BPM (beats per minute) is the pulse of your track. Different genres have characteristic tempos. For example, classic hip-hop often sits between 85–95 BPM, while modern trap is typically faster, around 130–150 BPM (often perceived as half-time). House music lives in the 120–128 BPM range. If you're unsure, find a reference track you like and use a simple online tool to tap the tempo and find its BPM.
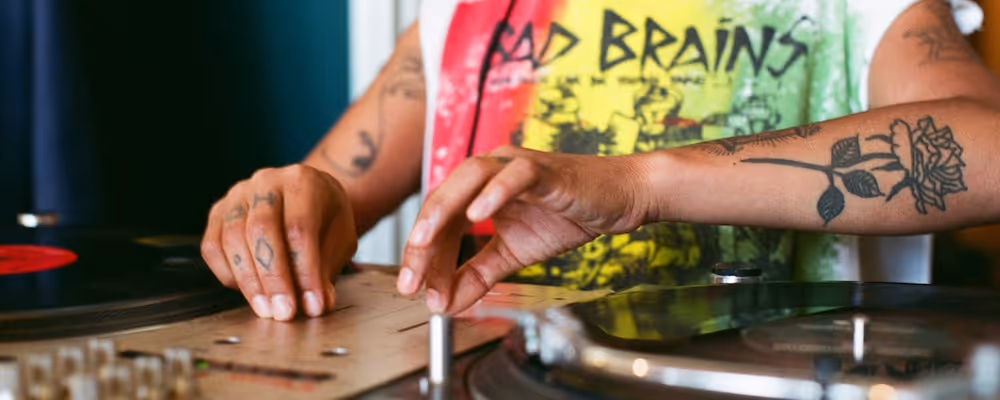
Select Your DAW
Your DAW is your digital studio, and the choice comes down to personal workflow and budget. Different DAWs offer unique features that can enhance your beat making process. Whether it’s Ableton Live for its performance-focused workflow, FL Studio for its lightning-fast beat-making, or a free option, the goal is to choose one and get comfortable with it. Once your DAW is open and the tempo is set, you’re ready to build your foundation.
Step 2: Lay Down the Drums
The drums are the rhythmic skeleton of your track, and they provide the groove and energy that everything else will build upon. Most producers start here, as the drums inform the placement of every other element. You can program drums directly in your DAW using MIDI or step sequencers, allowing you to create custom drum patterns without relying on pre-recorded styles.
- The Kick Drum: This is the low-end “thump” of your beat and provides the rhythmic anchor. A common starting point is to place a kick on beats 1 and 3 in a four-beat measure. For a more modern trap feel, you might put kicks on every beat, or create a complex, syncopated pattern.
- The Snare or Clap: This is the “backbone” of the groove. In most genres, the snare hits on beats 2 and 4. This classic pattern, known as “boom-bap,” provides a solid foundation for your track.
- Hi-Hats: Hi-hats add a sense of movement and rhythm. You can start with a simple, steady pattern (like eighth notes) and then introduce variations. For trap, producers often use a rapid succession of 16th or 32nd notes to create those signature, nervous-sounding rolls. Adding percussion elements like shakers or tambourines can further enhance the groove and add rhythmic complexity.
- Layering Drums: To achieve a powerful, professional sound, don’t be afraid to layer your drums. You can combine multiple kick samples to get a full sound: one for the low-end sub, another for the mid-range punch, and a third for the high-frequency “click.” This technique adds depth and makes your drums cut through the mix.
You can also use drum loops from sample packs to quickly build your rhythm section, as these often include a variety of drum patterns with kick, snare, hi-hats, and percussion for versatility in music production. For even more realistic and professional drum sounds, consider exploring top drum VST plugins.
Practice creating simple drum patterns first, and then experiment with adding variation. Humanize your patterns by slightly adjusting the velocity (or volume) of individual notes to make it sound less robotic.
Step 3: Find the Melodic and Harmonic Core
Once your drums are grooving, it’s time to add the harmonic and melodic elements. This is where you create the musical atmosphere and set the emotional tone. You can start with either a chord progression or a central melody.
Chord Progression
Chords provide the harmonic framework for your beat. They define the song's key and create a feeling of tension and release. You can use a MIDI keyboard to play chords directly into your DAW or program them using the piano roll. Start with simple triads (three-note chords) and then explore more complex voicings. There are plenty of free resources and plugins that can help you with chord theory.
The Main Melody
This is often the most memorable part of your beat. It’s the element that an artist might sing or rap over. It’s a good practice to create a melody that complements your chord progression. Hearing the melody in your mind before programming it can help guide your creative decisions and ensure the final result matches your vision. You can use a wide range of virtual instruments for this—pianos, synthesizers, guitars, or even sampled vocals.
When building these elements, remember that simplicity is key. A lot of popular music is built on very simple, repetitive progressions and melodies. Don’t feel pressured to write a complex symphony; a catchy two- or four-bar loop is all you need to start.
Step 4: The Bassline
The bass line is what connects your drums to your melodic elements. It adds depth, weight, and groove to your beat. A good bass line is the secret ingredient that makes a beat feel full and professional.
- Following the Chords: A simple but effective starting point is to have your bass notes follow the root notes of your chord progression. This ensures your beat sounds harmonically cohesive.
- Rhythmic Interaction: Once you have the root notes down, experiment with the rhythm. Have the bass line interact with your kick drum, creating a call-and-response pattern. This rhythmic synergy is what creates that undeniable “head-nod” feel.
- Sound Selection: The sound of your bass can completely change the vibe. A clean sub-bass provides low-end power, a synth bass can add a punchy, aggressive feel, and a sampled electric bass can give your beat a more organic, live sound.
Don’t let the bass line compete with the kick drum. A common mixing technique called sidechain compression can be used to slightly duck the volume of your bass line whenever the kick hits, creating space for the kick and making your low-end feel clean and powerful.
Once you have your drums and bass line in place, you can focus on building the rest of your arrangement.
Step 5: Arrange and Structure Your Beat
You have a solid, four- to eight-bar loop. Now what? The key to making a full track is to arrange your loop into a song structure. Organize your elements into separate audio tracks within your DAW for better control and flexibility. Arranging your beat is the step where you transform a simple loop into complete songs. A full beat is a journey, with different sections to keep the listener engaged, and thoughtful arrangement helps you craft a unique beat that stands out.
- Intro: Start with a few elements to build anticipation, maybe just the melody, or a lone hi-hat pattern.
- Verse: Introduce more elements. This is where the main body of the beat lives, designed to give the artist space to rap or sing. You can drop out certain elements, like a hi-hat or a pad sound, to create subtle variations.
- Chorus/Hook: This is the most energetic and full part of the beat. Bring in all your elements—the main melody, a strong bassline, and a full drum pattern—to make it stand out.
- Bridge/Breakdown: Introduce a new section with different elements. This provides a break from the main loop and can build anticipation for the final chorus. You could strip the beat back to just the drums and bass, or introduce a new melodic element.
- Outro: Fade out the beat, or end it abruptly. You can strip it back to a single element, like the bassline or a looping vocal sample, to bring the track to a close.
Step 6: Polish and Refine
The final step is to polish your beat to make it sound professional. This involves mixing, adding effects, and making small tweaks that make a huge difference. The goal is to make your beat sound good on any playback system, ensuring it appeals to listeners and maintains a high-quality, polished feel.
- Mixing: This is the process of adjusting the volume and stereo position of each track to create a clear, balanced sound. Ensure your beat is well mixed for clarity and balance, with your kick and snare prominent and no single sound overpowering the others.
- Adding Effects: Use effects like reverb to add space and depth, delay to create interesting rhythmic echoes, and EQ (equalization) to clean up your frequencies and remove unwanted muddiness.
- Ear Candy and Transitions: Add small, interesting sounds or “ear candy” to keep the listener engaged. These could be sound effects, vocal chants, or reverse sounds. Use effects like filters, risers, and falls to create tension and smooth transitions between sections.
Bonus Step: Experiment and Have Fun
Learning how to make a beat is a rewarding journey. While it can feel like a lot to learn, the most important thing is to start. Don’t be afraid to make beats that you don’t like at first. Every beat is a learning experience, a chance to refine your skills and discover your unique voice.
Experiment with fresh sounds, instruments, and production techniques to keep your beats interesting and unique. Take time to explore the sonic possibilities offered by different samples and tools, as this can open up new creative directions in your music making.
Remember the words of the pros: it’s not about having the most expensive gear or the most complex knowledge. It’s about developing a deep understanding of your tools and using them to bring your creative vision to life. So, open your DAW, pick a sound, and start creating.


.jpg)
.jpg)
.jpg)


